
Lian Li Lancool 217 - Maximum Airflow as Standard
- Sam Thwaytes
- May 5, 2025
- 7 min read

Fan placement in PC cases is all pretty standard: fit as many fans to the front and rear as possible, if you’re using an AIO it’ll come with the right amount of fans, if an air cooler has been selected you need to consider whether or not to exhaust out of the top of the chassis. Sure there are little adjustments that can be done to make the airflow optimal for the circumstances. Some cases have specific cutouts for the fans, the HAVN HS420 comes to mind, which can enhance the case's visual appearance, but at the cost of being able to change fan position. Lian Li have come back to the table, this time offering greater modularity for a high quality, low cost (~$120) , wood clad case, the Lancool 217. It looks like the case comes ready to go with pre-mounted intake and exhaust fans, so this should be a nice simple build, let’s get into it.
Case Overview

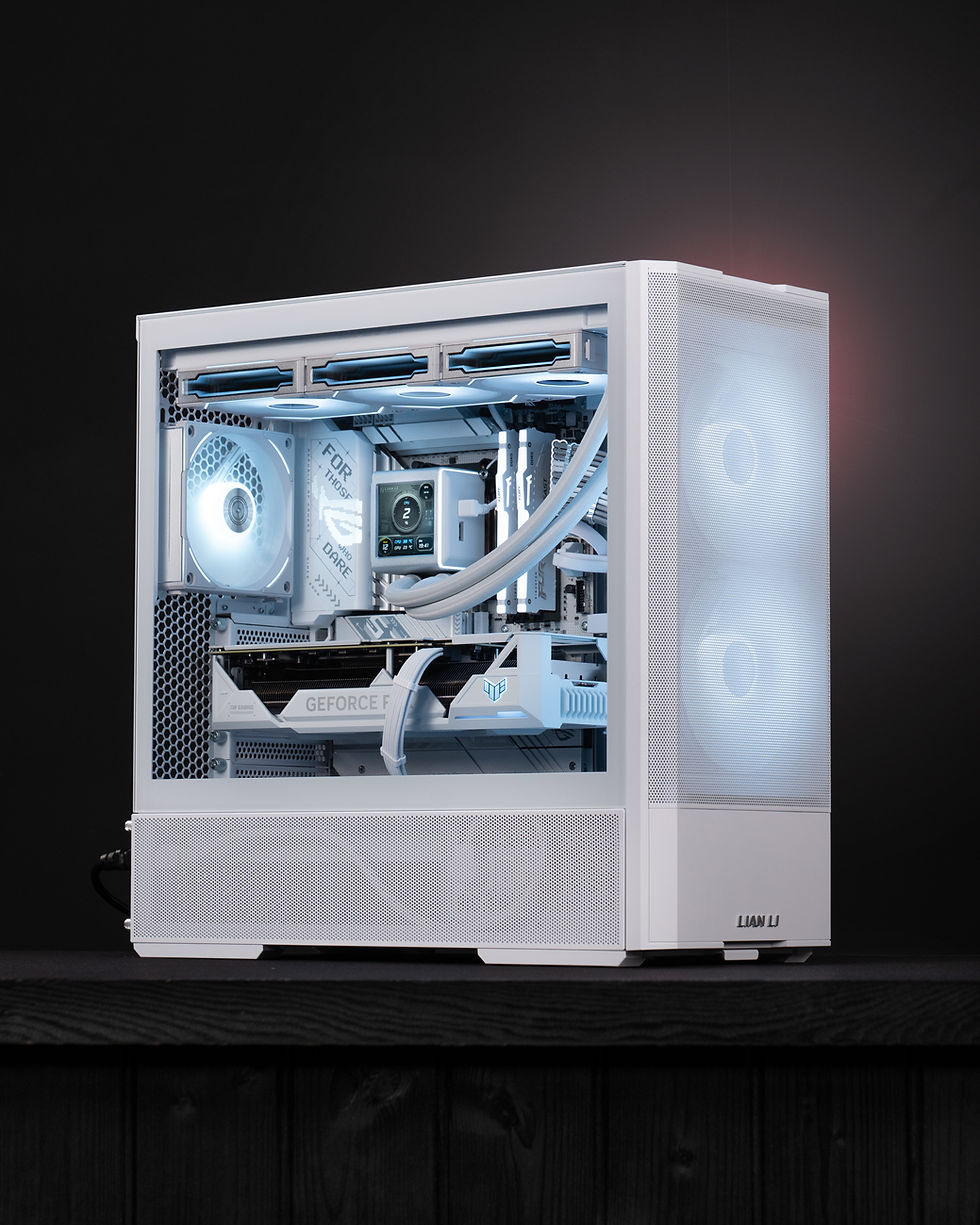
The Lancool 217 is the larger sibling of the Lancool 207 we covered last week, looking to improve upon the 207’s included cooling capabilities and increasing hardware support further. Aesthetically it has had an overhaul when compared to the Lancool 216. Let’s start with what Lian Li refers to as ‘genuine wood’ which is an unusual way to describe it, we’re not sure what kind of wood is actually being used. We feel it may be pine, but can’t be sure of it. The wooden stripping frames the front and also runs along the top sides of the case. Compared to the concept case we are missing a wood strip from the bottom of the case, which we feel is a bit of a miss, it tied it all together well. On the front of the case the grille features an almost corrugated design giving it a bit of extra texture. The top features a mesh panel framed by the wood and the ‘open’ side features a clear tempered glass (on our white unit). Overall it’s a good looking unit, and even though it’s a new design it somehow manages to still be recognisably Lian Li (which is always a positive in my view).

The standout feature is air intake, on the front of the case there are 2 x 170mm fans, which are 30mm thick. They should move air around the case without ever needing to spin too quickly. Though the choice to go with 170mm does seem unusual, as it’s a fan size that doesn’t seem to exist for any other reason, and the included fans are not RGB - which doesn’t bother us - but if you want RGB you’ll be hard pressed to find an exact replacement. Luckily included in the box are some fan rails which can be attached to allow the chassis to use 140mm or 120mm fans: though by replacing the fans you are removing what makes this case special! The way in which the included fans mount and how they move is also unique, Lian Li describes it as a “hard drive-like sliding mount system with rubber inserts”. Basically there are predefined mounting spaces on the case which the fans push into and then slide down to lock into place. This method of mounting applies only to the front and bottom intake fans, and should you wish to swap out the front fans for something smaller using the included rails you will have to use standard fan mounting screws.
Under each fan in the standard configuration are plastic blanking strips which can be moved and removed as needed. These allow the 170mm fans to be positioned in a balanced cooling setup (which is how it ships), and allows for the bottom fan to be moved up, which is seen as a CPU bias setup. Once the blanking strips are back in it gives the cooling setup a relatively seamless aesthetic. Realistically with the fans being so big we can't say that moving them around would actually benefit most users, though I’m sure there are fringe cases where it might help out.

On the bottom there are 2 preinstalled 120mm reverse blade fans, with another (standard) 140mm fan on the rear as exhaust.

We’re quite fond of the standard cooling setup and don’t feel anyone should have to change it except if they want RGB. If you are an LED aficionado perhaps wait to see if an RGB version comes later on - though we have no idea if that’s due to happen.
As for hardware support here’s the headlines:
Motherboard: Up to E-ATX (technically support SSI-EEB), back connect support for ATX & mATX
Graphics Card: max 382mm
Radiator: up to 360mm (top)
Air cooler: max 180mm
Dimensions (DxWxH): 482mm x 238mm x 503mm
Quirks and Features
Beyond the headlines there are a few other little useful touches on show here:
The PSU can be mounted in 2 orientations, either in standard orientation or sideways. Mounting sideways does offer a better cable management experience, as you can get to all the cable easily, but considering ATX PSU sizing you have to be using a smaller unit to make it work, up to around 150mm should be ok. The PSU also sits atop some rubber feet which should do a good job of deadening any small vibrations from the fan.

Inside there is an adjustable graphics card support, which is becoming more standard, but is always a welcome feature. It can be moved to 2 different rails which should give an option to avoid blocking the graphics card fans.
Behind the motherboard tray at the top there is a RGB and fan hub which can take up to 6 fan headers and 4 RGB. It’s not something we’d expect to be included at this price point, so it’s nice to see!

Build Notes
We’re lacking in current generation white graphics cards at the studio, we all know the new Nvidia and AMD cards are hard to come by, so we had to rely on the previous generation for this one. We also decided to finally use the Intel Core Ultra 9 285k, we’ve had it in the studio for a while but we’ve found ourselves using AMD. Despite the negativity online about the Core Ultra series we feel they still have something to offer, especially for more creative workflows and they still game at a good level. Below is a rundown of the hardware chosen:

The build was pretty uneventful all things considered, everything fit as it should. Having a pretty comprehensive suite of fans preinstalled keeps things streamlined, and the fans were also pre-wired to the hub - a nice touch!
For the power supply we used a Lian Li Edge1300 (lower wattage versions are available) which turned out to be a fantastic choice. For those that don’t know the power supply features a stepped design, to allow cables to be inserted vertically. If this is combined with mounting the PSU sideways the result is no cables being visible through the bottom mesh side panel, and thus nothing impeding airflow to the bottom fans.
Cable management should have been a pleasant experience, there is plenty of space and lots of channels which already have velcro in situ. It should have been super easy, but this was not my finest work - and that’s on me! We filmed in the middle of an spring heatwave here in the UK, the studio is not air conditioned and the lights had been on for hours, it was sweltering! I ended up a bit frustrated with it, but I cobbled together a practical solution.

Airflow
As you would expect from a case kitted out with large, high performance fans, airflow was solid! You can see the gigantic intake fans sucking in the smoke without issue. The top passes it over the motherboard and to the radiator and the bottom directing the smoke over the graphics card. I have a feeling this system is going to stay cool under pressure.

Thermal Performance
Each week we put our build through some basic performance tests. The intention is to gauge how it would fare in real world scenarios as well as to see how it performs at a safe thermal limit in standard configuration. Our results:

Ambient Temp 23.9°C
Cyberpunk 2077
2560x1440
Location: Ghost Town
Quick Preset - Raytracing Overdrive
87-110 FPS
60°C CPU
55°C GPU
System Power Draw: ~520w
Marvel Rivals

2560 x 1440
Anti Aliasing and Super Resolution Type: Nvidia DLSS
Super Resolution Mode: Quality
Super Resolution Sharpening: 80
Frame Generation Mode: off
Graphics Quality: Ultra
128-178 FPS
53°C CPU
52°C GPU
System Power Draw: ~421w
Furmark 2
2560 x 1440
323 FPS
68°C GPU Temp
83°C Hotspot
CPU-Z
Max Temp 63°C
Fan Speed ~1145 rpm
We’re very pleased with thermal performance, even under maximum stress both the CPU and GPU stayed very cool. It might even be worth overclocking, it looks like it could handle it without issue.
Noise Testing
As we're testing the full build the results are indicative of that, changing out components would alter results. We use a decibel meter at a distance of 50cm from the PC - which is approx normal seating position in a set-up where the PC is on the desk. The lowest reading available from the device is 30db.
Ambient noise: <30db
Fans at idle: <30db
Fans at 50%: <35db (AVG)
Fans at 85% GPU Fans 75%: <52db (AVG)
Roundup
The Lian Li Lancool 217 is an all around solid option for a lower cost PC case with wooden accents. Beyond its price and looks there is a lot to like. We love the included cooling setup, of course there are issues if you want to replace the fans, but we’d advise keeping it as is regardless. The inclusion of a fan/RGB hub and graphics card support is a nice little extra, and something Lian Li didn’t have to include at this price. The PSU mounting options adds something unique, I’m sure most will see it as a small addition, but it can make the building process easier. Overall we like this case, but, and this is personal preference, we do prefer the look of the black variant with the darker wooden accents.

The build was made super easy with the included fans too, as a significant amount of the work had been done for us. Moving the front fans about was simple, we did try it but didn’t see a need to change set it up in any other configuration, something which testing proved to be correct.
Check out the full build video below.
Blog post written by Sam Thwaytes
Affiliate Links
If you are interested in any of the products used and wish to support the channel feel free to use the affiliate links below. We get a small kickback if you buy the product without it costing you anything!
USA Links
Case: Coming Soon
MOBO: https://amzn.to/3EPX7PP
Cooler: https://amzn.to/4304SL0
Storage: https://amzn.to/4d0EGEP
Thermal Paste: https://amzn.to/3GA3kQk
Keyboard: https://amzn.to/3GDQrES
Keycaps: https://amzn.to/4lWL18l
Mouse: https://amzn.to/4k6xVUm
Monitor: https://amzn.to/3EY2IDB
Espresso Machine: https://amzn.to/4apOwOY
UK Links
Case: Coming Soon!
GPU: not available
MOBO: https://amzn.to/4lQaIHs
PSU (1000w): https://amzn.to/4lTN90p
Cooler: https://amzn.to/3YYcHj8
Storage: https://amzn.to/4lZHkhW
Thermal Paste: https://amzn.to/4jElFKX
Keyboard: https://amzn.to/4mfVJHc
Keycaps: https://amzn.to/3Yv4J0Q
Mouse: https://amzn.to/4kmED8T
Lamp: https://amzn.to/4jBUbWs
Monitor: https://amzn.to/3Z0Ntk9
Espresso Machine: https://amzn.to/40lcTsK

Comments